Using Excelerator
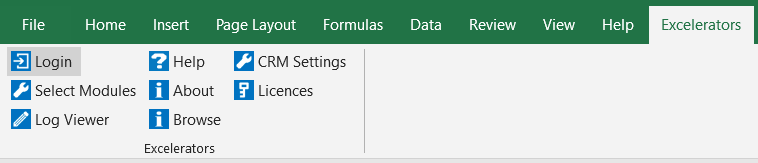
Once the Codis Excelerator is installed, the end user will note the Excelerator tab in excel.
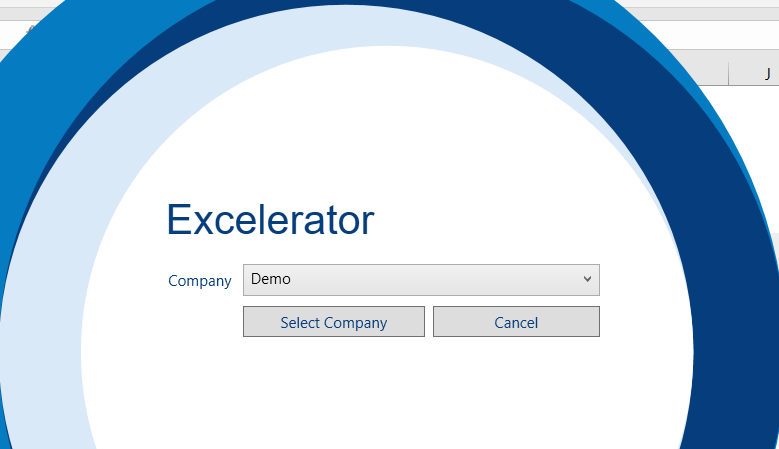
Click 'Login' and the following screen will be displayed so that the required company can be selected.
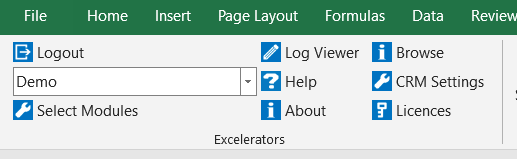
Once logged in, the selected company will be displayed. It is possible to change company using the company drop-down.
Select 'Logout' to log off the company.
Accessing the Ribbon
The Excelerator ribbon is divided into different panels.
There is a control panel and a panel for each installed module. Users have to log in before the module panels appear.
The module panels have a similar layout with several common buttons. If there is insufficient screen space, the panels will be compacted.
Info
If editing a cell in Excel, all the module options will be greyed out.
See below.
Login to Sage 200 Company
To maintain the Sage 200 Accounting Rules and the integrity of the Sage data, it is necessary for users to log in to Excelerator as you would log in to Sage.
Select the Excelerator Ribbon and click on 'Login'. The Excelerator login screen will be displayed.
In earlier versions of Sage 200 (pre-Sage 200 2013), the user name and password would be needed to logon.
- Choose the Sage 200 company from the drop-down list.
- Click on Select Company, and the licenced Excelerator modules will be displayed.
See also: Selecting a Sage Company.
Excelerator News
After logging in, Excelerator will try to show you a screen with the latest news about Excelerator.
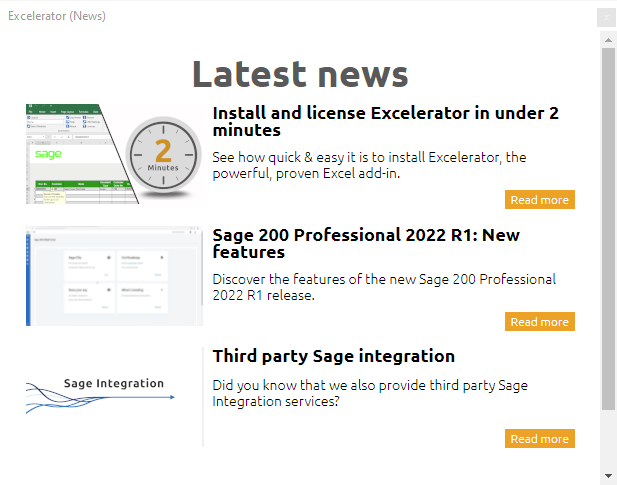
You will only be shown this screen when there are fresh news items to display.
Info
The webview2 runtime must be installed for the news to display. It may already be installed in your version of Windows and Office.
https://support.templafy.com/hc/en-us](/360017470437-How-to-check-for-and-install-WebView2#h_01EY86M7DP03FQJAGGC0NREJ6R is a handy article describing how to see if it is already installed, and how to install it if it isn't installed.
You can always view the current news here.
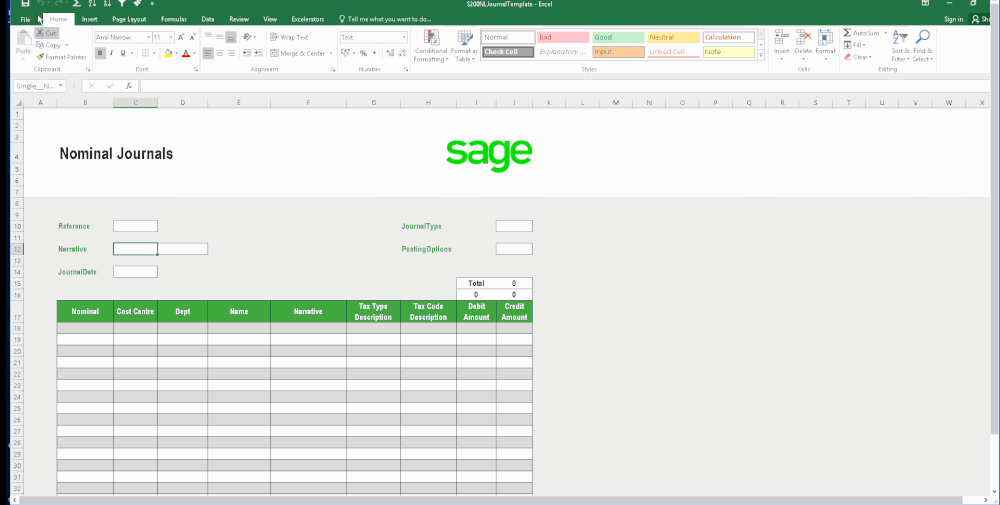
Standard Templates
Sample templates are provided as part of the installation so that users can instantly start using Excelerator. You can use these templates or can create your own ones.
Using sample templates
These standard templates are located in the Templates folder in the directory where the product was installed.
This folder can be accessed using the Windows Explorer. Usually, the templates are installed in C:\Users\<User Name>\AppData\Local\Codis Limited\Codis Sage 200 <Sage Version> Standard Excelerator\Templates.
Users may wish to create a shortcut on the desktop for ease of access or copy it to a folder of their choice.
The following templates are available to use with the licensed modules.

Selecting a Sage Company
Excelerator allows the user to select which Sage company should be read and updated. There are three different ways to select the company.
1. Select the Sage Company when logging in.
2. Changing that selection using the drop-down in the Excelerator control Ribbon.
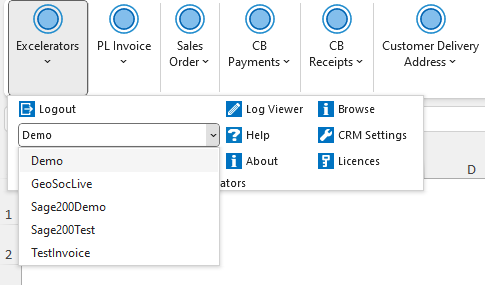
3. Overriding the selected company by adding the Sage Company range to the template (see Designing Your Own Templates).
This range is available in all Excelerator modules.
From version 3.5.297, for the modules listed below, you can include a new Sage company range at the item level. This is described below.
Info
The company selected in the template (Sage Company range) takes precedence over the company selected in the ribbon drop-down.
Info
It is possible to have different companies entered in the Sage company range on different worksheets in a workbook and for Excelerator to post to the different companies.
Using the Item-Level Company Range
See Updating Multiple Companies From One Sheet
Validate Sage Data
Validate will check that the data on the spreadsheet is compatible with Sage accounting rules. It validates all the data and displays any errors in a new panel. Sage is not updated.
Info
Save also validates the data, but Validate will validate faster than Save. Also, it will attempt to report all errors in the data in one run, whilst Save will stop on the first error it finds.
It can be more efficient to use Validate before Save because of these reasons.
Sage 200 Excelerator CB Payments Validation
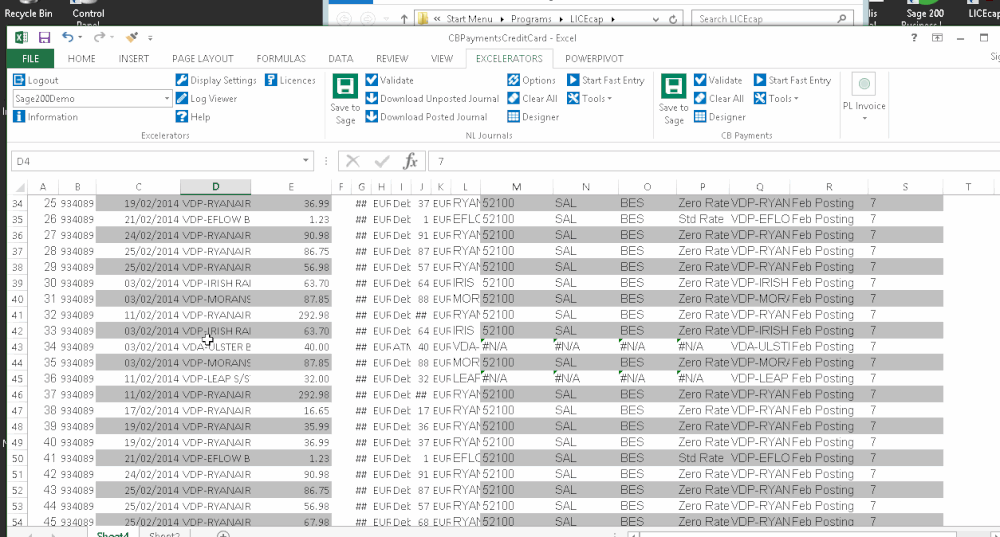
Validate lists any issues, the error description, and the line where the error occurred. By clicking next to the error, Excelerator takes you to the row in question.
To use, select Validate from the Ribbon for the relevant module. A panel is displayed listing all rows where Excelerator encountered problems.
Click next to the row to be directed to the row where Excelerator encountered the issue (see above).
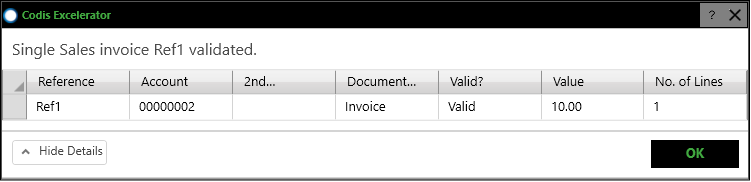
A box like this one appears when Validate encounters no errors, and the data is ready to Save to Sage.
Any validation errors will be displayed in the Validation panel, as shown below. Red light lines are errors, yellow are warnings.
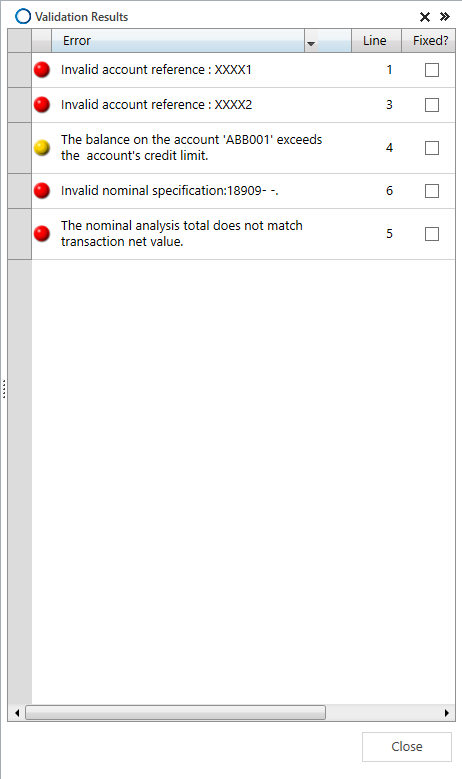
Warning
Ticking "Fixed" does not correct an error but acts as a reminder that the error has been corrected.
Once the data conforms to the Sage accounting rules, you can Save to Sage.
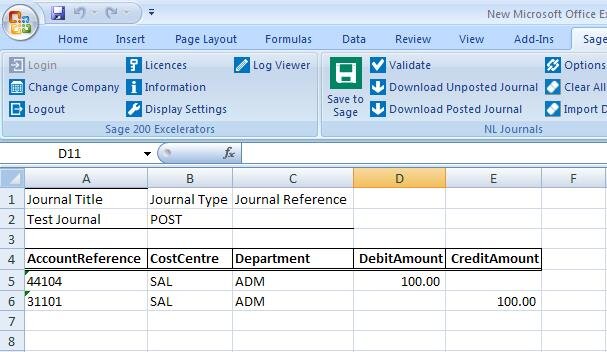
Save to Sage
Excelerator users can save spreadsheet data to Sage without exiting Excel by selecting Save to Sage.
Open the Excelerator ribbon and click 'Save to Sage'.
Excelerator will save your data to Sage and return the document/journal number to your spreadsheet.
It will validate the data to ensure it conforms to Sage accounting rules. The validation will report any errors, and the data will not be saved to Sage should errors be encountered.
Excelerator users may want to check their data before clicking Save to Sage using the Validate button.
Validate presents any issues encountered in a logical and easy-to-follow manner.
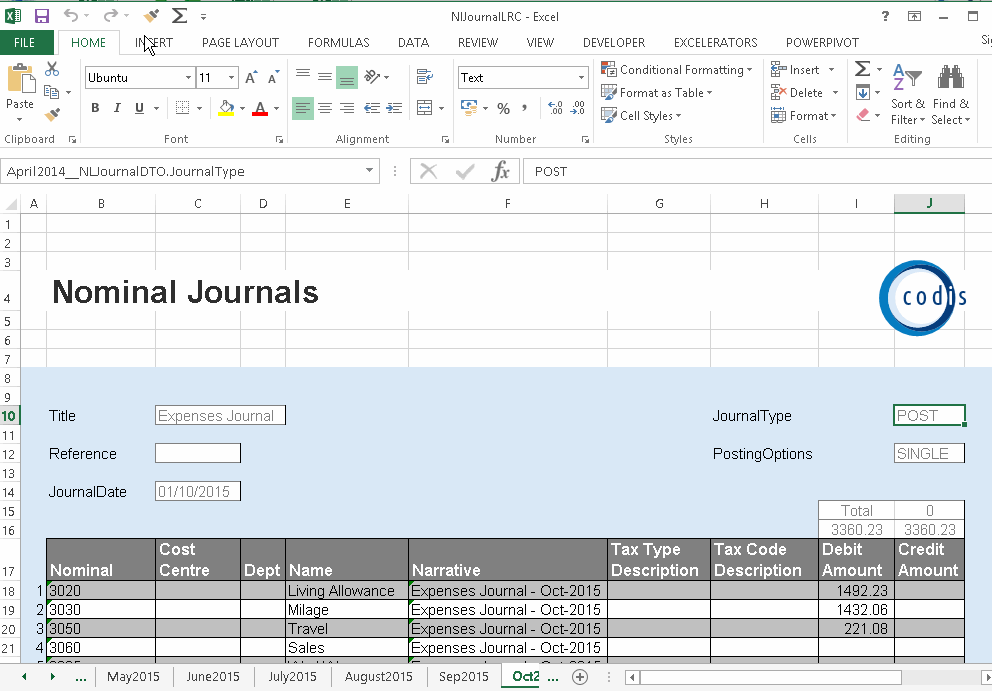
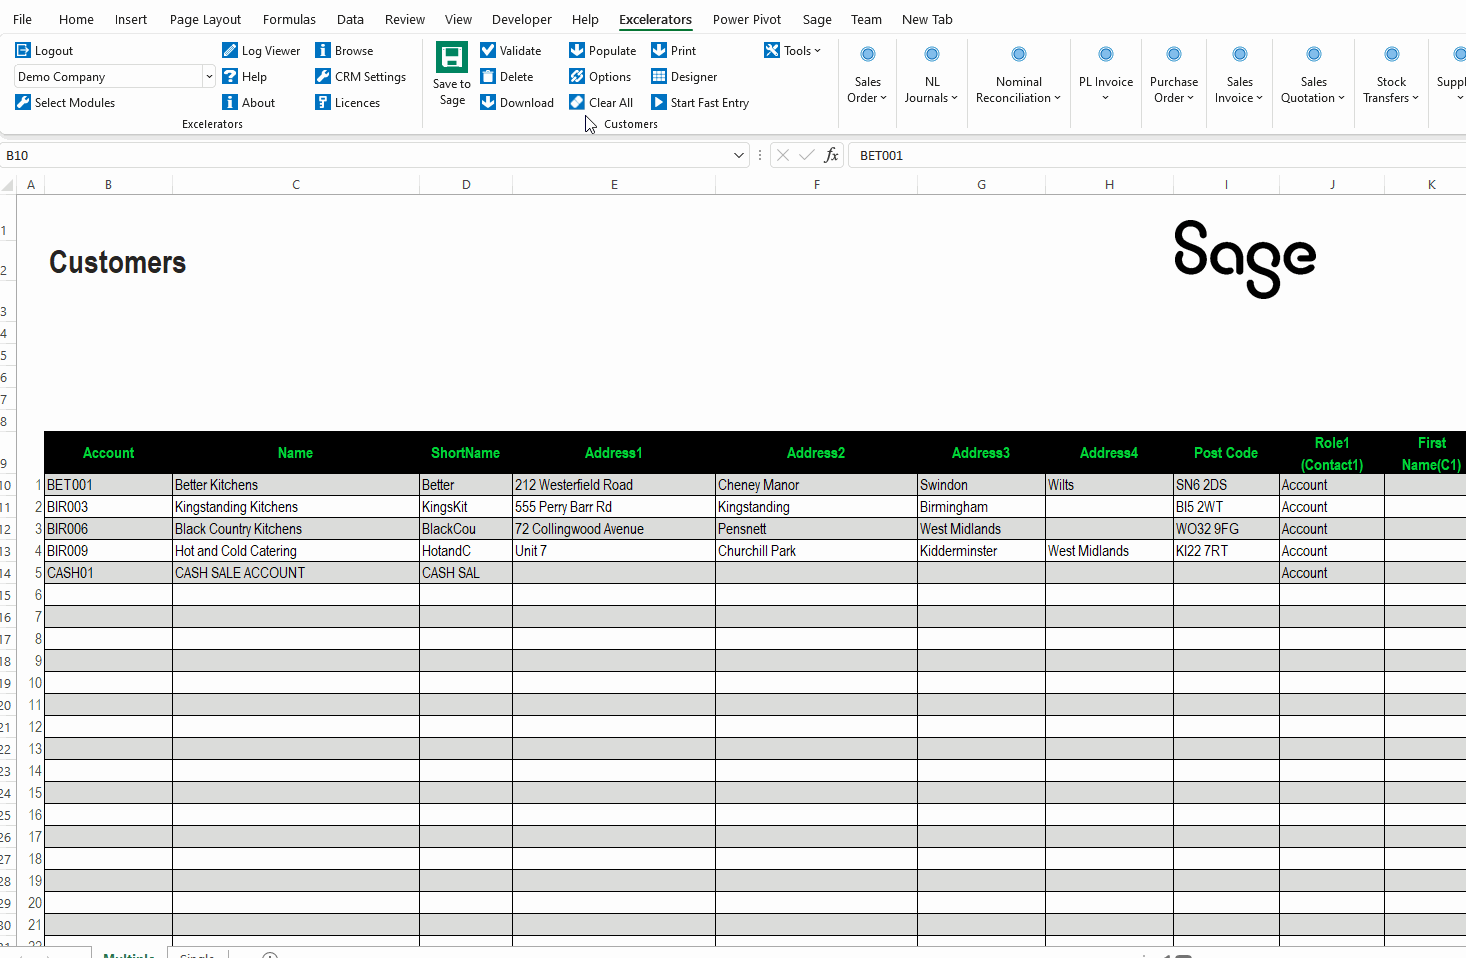
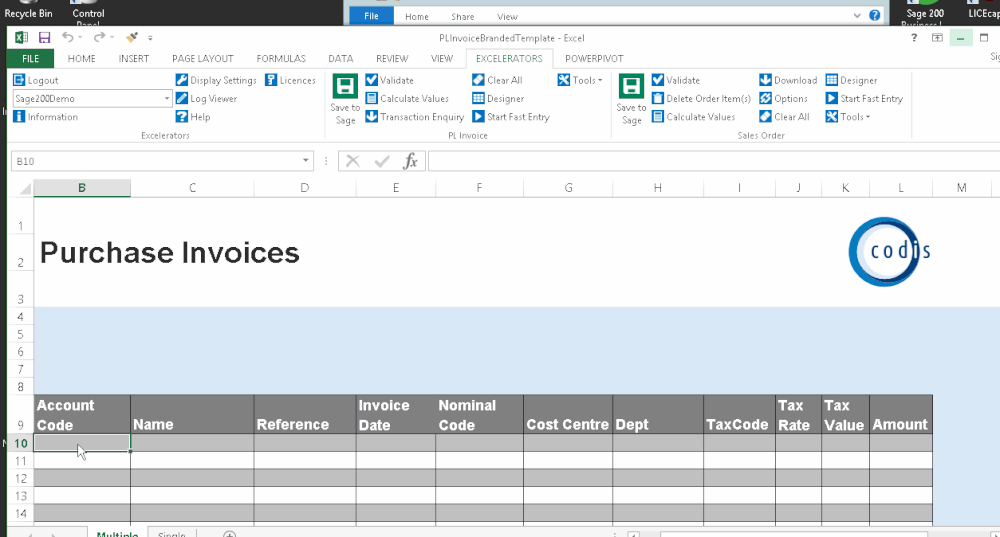
Entering Data Using Excelerator
Data should be entered in the designated ranges. You can pick from Sage data directly using the browse or Fast Entry for most ranges.
Flexible Data Entry
Whilst Excelerator is a very effective and advanced data import tool, it would be wrong to see it as simply that.
It can be used for speedy data entry, and you can use the power of Excel to apply custom business rules.
Whilst you can enter data using Standard Templates, you can design your own.
Excel formula can be used. See this page for details.
Minimum Data Entry
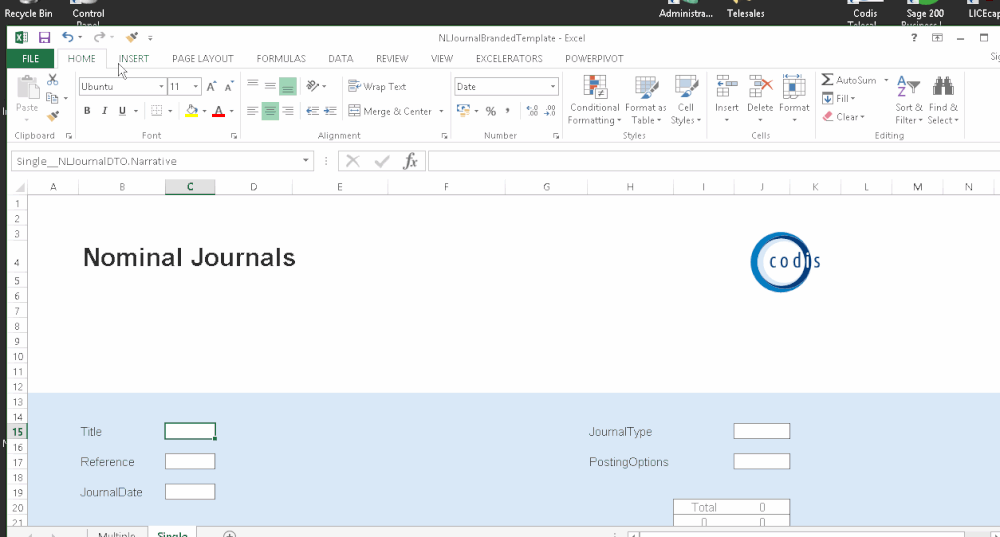
With Excelerator, you only have to enter the minimum required data, and you only have to include those ranges on the sheet. For instance, you can enter an NL journal using just the journal narrative
Flexible Data Entry Formats
Excelerator opens up new possibilities for efficient import or speedy entry of data. Whilst Sage itself usually offers only one way to enter data, Excelerator supports multiple formats for entry or import or data.
Clear Excel Data
Selecting Clear All clears all data from the ranges.
Clear All does not affect the template (other than removing data). Clear All does not remove formulas inserted in ranges.
Calculate Values
'Calculate Values' is available in several modules.
This uses the information entered in different ranges to calculate the value of other ranges.
Examples are Sales Order Price based on the Customer, Product combination or' VAT amount based on the VAT code and Goods amount.
Where there is already a value in the cell - 'Calculate values' will not overwrite the existing value.
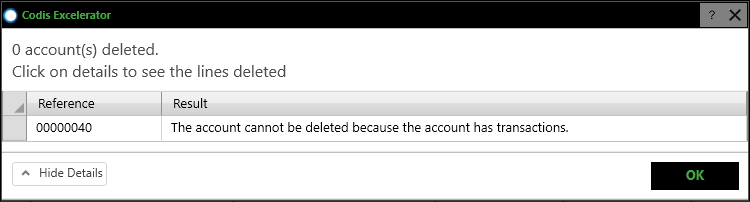
Delete Sage Records
The Delete option is available for the Customers, Suppliers and Stock modules.
Excelerator allows deletion of items in Sage from the template.
When the Delete option is selected, a window is displayed where items can be ticked for deletion. Select the 'Delete' button to delete the records.
All rules defined by Sage will be adhered to and error messages displayed, if deletion is not permitted.
Printing
Excelerator Printing
Almost all of our modules allow you to print out relevant documents. The printouts will be in the same format as Sage's.
Where multiple Sage layouts are available, Excelerator will allow you to pick a layout.
You can download documents onto your sheet, select which documents from the spreadsheet, or pick from all the documents saved in Sage.
Warning
You can only print documents that are saved to Sage. If you are entering, for instance, Sales Orders, you have to Save to Sage before you can print the Sales Orders.
This video shows the Excelerator printing feature:
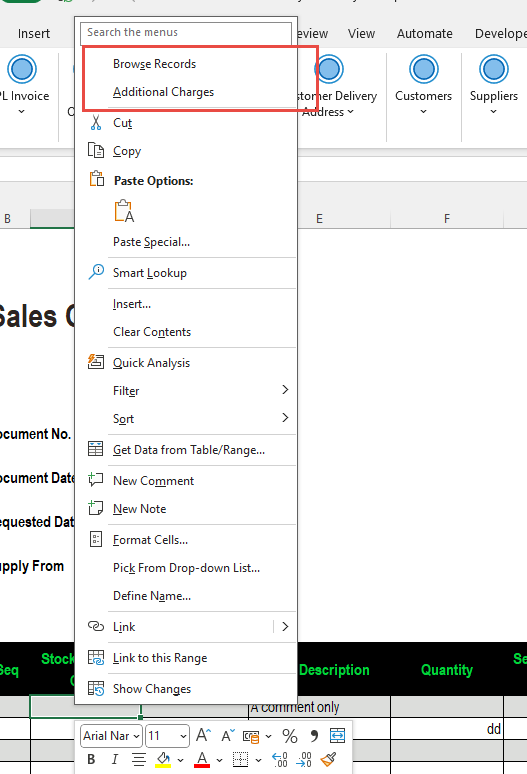
The Context Menu
Context (Right-click) Menu
This is the menu displayed by Excel when the right button of the mouse is clicked.
Excelerator will add items to the menu depending on the context. You have to login to Excelerator for these options to appear.
The screenshot below shows the context menu when using Sales Order Excelerator, when the right mouse button is clicked.
Treatment of Blank Cells in Excelerator Ranges
Excelerator can interpret blank cells in data ranges in different ways, depending on the configuration of each range and the module-level settings. You can see this setting for each range in the range tooltip displayed in the Designer.
![]()
In Customers, Suppliers or Stock Excelerator, you can configure an option to choose which setting is used for all that module's ranges. For other modules, this setting cannot be changed.
Ignore Blank Values
When the range is ignoring blanks, Excelerator treats blank cells as if the corresponding range were not present on the worksheet.
New records: Blank cells are not passed to the target system. Default values (if defined) are applied automatically.
Existing records: Fields corresponding to blank cells are not updated; their existing values remain unchanged.
Effect: Excelerator effectively skips these cells during processing.
Use Blank Values
When the range is not ignoring blanks, Excelerator treats blank cells as deliberate inputs.
New records: Blank cells are validated and, if valid, included in the new record.
Existing records: Blank cells overwrite existing values in the target system, effectively clearing those fields.
Effect: Excelerator processes these blanks as explicit data entries.
Summary
The distinction between ignoring and using blank values determines whether Excelerator interprets blanks as “no change” or as “blank input”.